Final documentation video for this Module
Intro + Background
In the Fall 2022 semester, I had the opportunity to fully design and 3D model a nightclub/music venue in 3D Pre-visualization for Live Entertainment, an AET class taught by Matt Smith. Along with the scale 3D model, deliverables included detailed annotated floor plans with dimensions and a branding package. The full documentation for this project is linked here.
Now, in the Spring of 2023, I am enrolled in AET Studio and have the opportunity to propose my own project. As a current lighting designer and programmer looking to find a career in Project Management, I was interested in creating a custom lighting package for the venue I had previously designed. I want to approach this from a project manager's perspective, so I want to create professional, industry-standard documentation that could be used if this were a real-world project. Further, I want to create a snazzy video showcasing the venue and lights with a crazy light show that I could program. I love to program lighting for EDM, which fits perfectly with the branding package which accompanies the venue.
The class is split into 2 modules, and students are given the opportunity to do 2 separate projects or to work on one larger project split into two distinct phases of production. I am using both modules for this project; I spent the first module creating the assets required to program and will use the second module to actually program the light show (Module 1 Documentation).
Process video for Module 1
Background
Before this semester, I designed and drafted a nightclub venue in a CAD program called Vectorworks. In Module 1, I designed a lighting package and created a set of assets to program a digital light show in the 3D-modeled venue. These assets included a top and section view light plots, channel hookup, fixture schedule, Capture file, and Hog4 show file. The completed documentation for this part of the project is linked here.
Assets
This semester, I am going to utilize these assets (primarily the Hog4 show file and Capture file) to create a 100% virtual light show, documented in video format. Since the venue doesn’t exist in real life and I don’t have physical access to the fixtures I selected, I feel that this is the best and only way to showcase this project. I had originally planned on programming my show using timecode, which is a control mechanism that syncs the music and light cues using a single source of time information shared through midi macros. This article explains the process in more detail. I decided against this because it adds an extra layer of complexity, and I can achieve a similar effect by using the “wait” feature, which achieves a similar outcome with fewer steps. Documentation explaining the difference between timecode and “wait” cue timing is available here, courtesy of ETC.
Song Selection
The song I have selected to use is Hidden by Alex-Productions. It is licensed as CC By-NC 4.0, which means I can share and build upon the property as long as it is not used for commercial gain and I properly attribute the creator. In this case, it is clear I do not ever plan on commercializing this project so I can continue to use it as long as I still follow the agreed-upon conditions, as stated here. If further licensing is required, I can also buy the rights for 19 euros (converts to just above $20) under a PRO license. This option is less representative of traditional techno (popular in Berlin, the venue’s hypothetical location) but has a lot of interesting variations which would lend well to a dynamic light show. It is 3:22 in length, and I plan on utilizing the full length of the track for my light show.
Goal for deliverables
In summary, my final deliverables for this Module are the light show asset files (Hog4 show file and Capture file) as well as a polished video of the light show synced with the music. I previously included a Reaper file in this category but decided against using timecode.
Research
I feel very confident going into this module, as I have a strong background in light show programming. I have completed this workflow several times before which has informed my process to date. Some projects that have prepared me for this undertaking were Evolution 2022 (a 7-minute piece shown to the public) and Ride the Synthwave (8 minutes of light shows shown to the public). For both of these projects, I received consistent feedback from both professors and collaborators to help refine my design and workflow. Because of my experience with these types of projects, I am not only confident that it will be feasible in the scope of this module, but that I will be able to produce excellent work in this time frame. I am looking forward to experimenting with new fixtures that I haven’t had the opportunity to program with.
One area that I would like to do more research on is how I will render the final video. In the preliminary stages of experimenting with my show file, I learned that the PLAI Lab computers were struggling to render and screen-record my scenes at the same time. I might look into cloud rendering and/or Cinema 4D as a rendering tool to help offset some of the GPU load.
Practical Research
Future23 Showcase
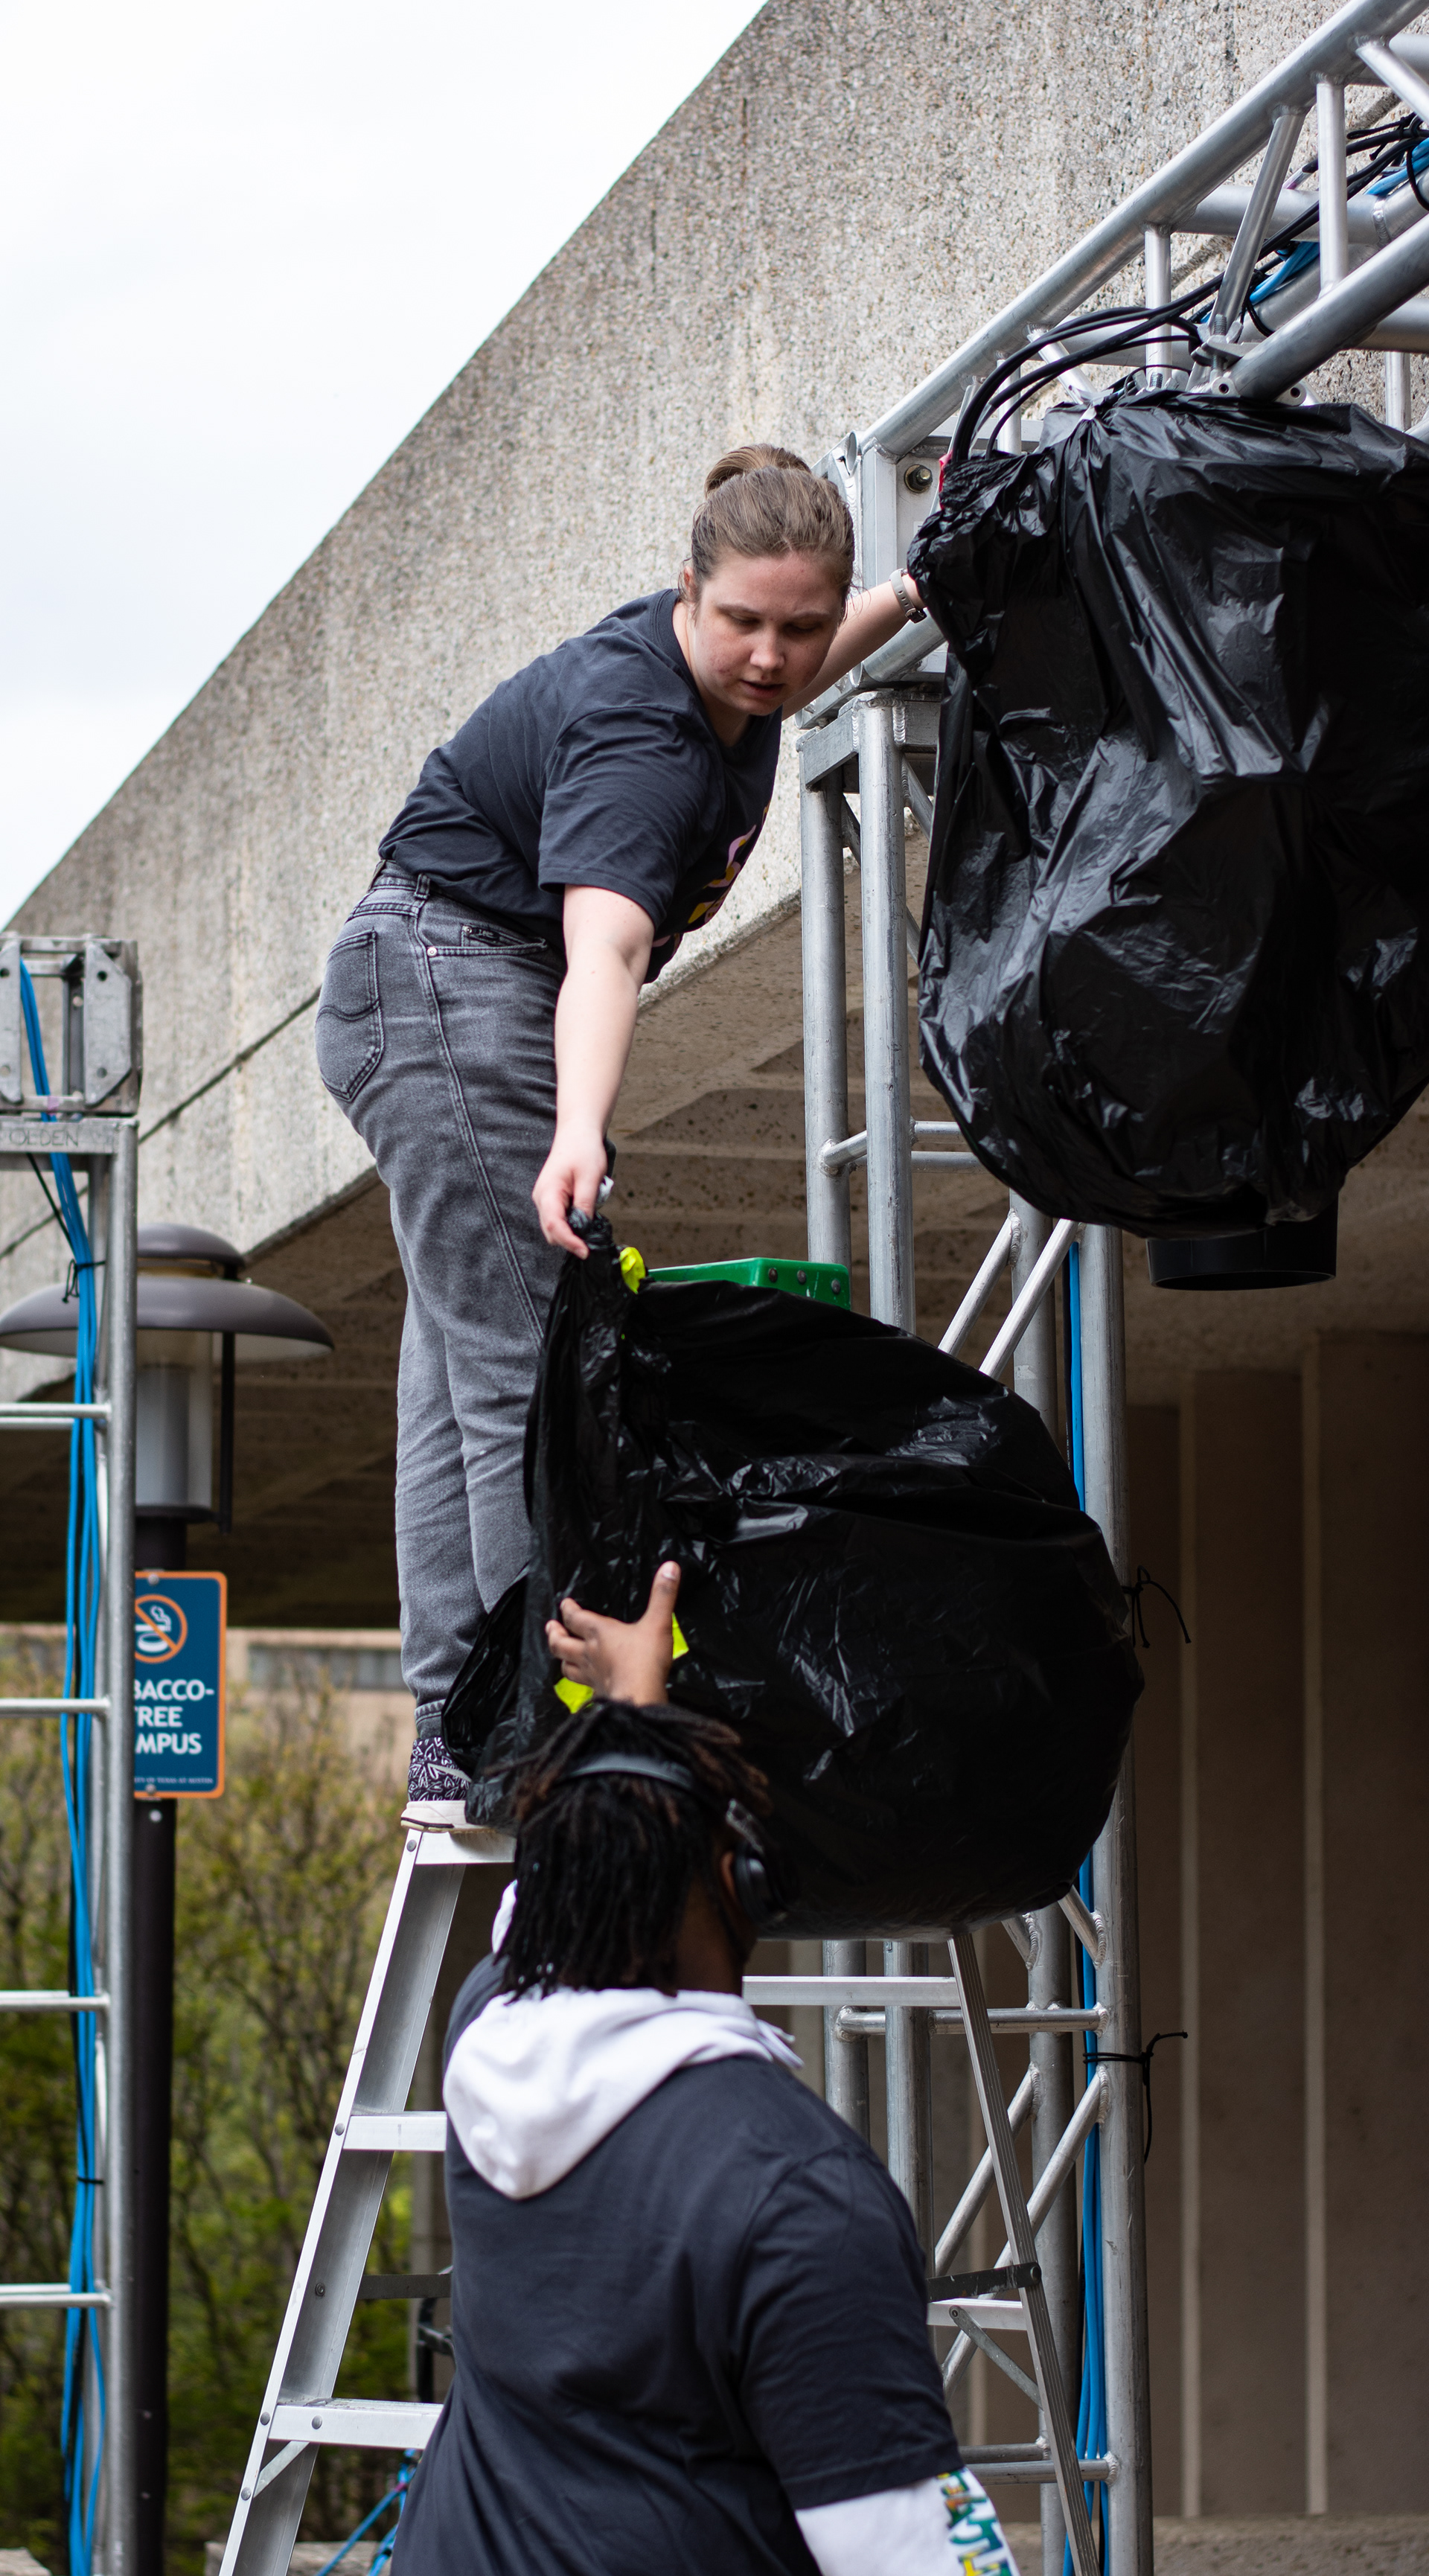
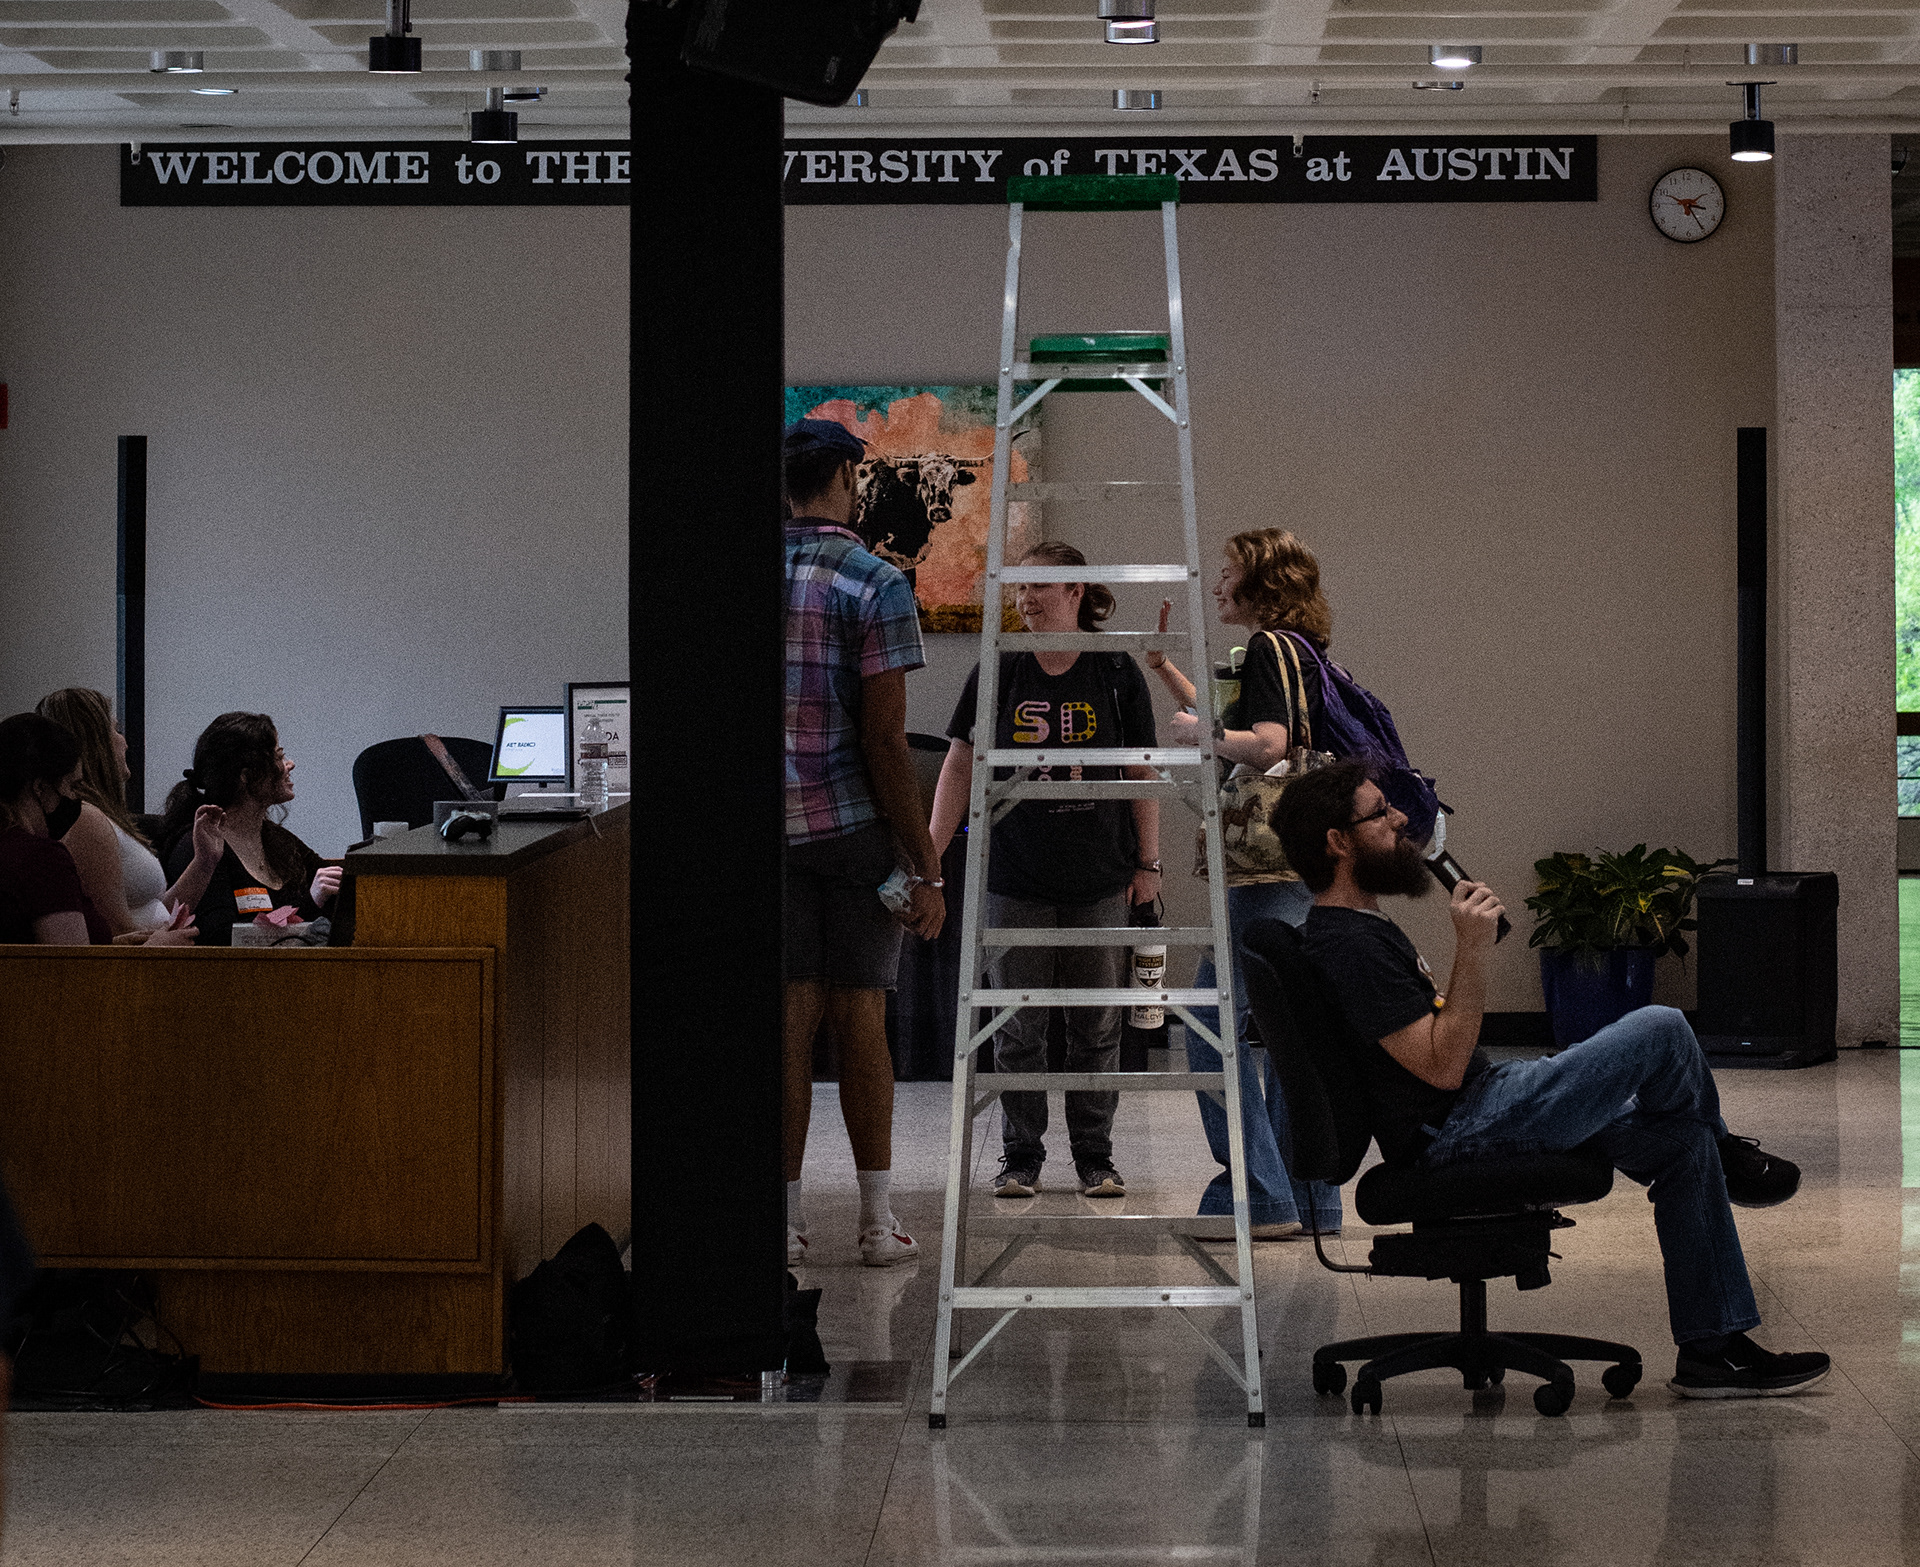
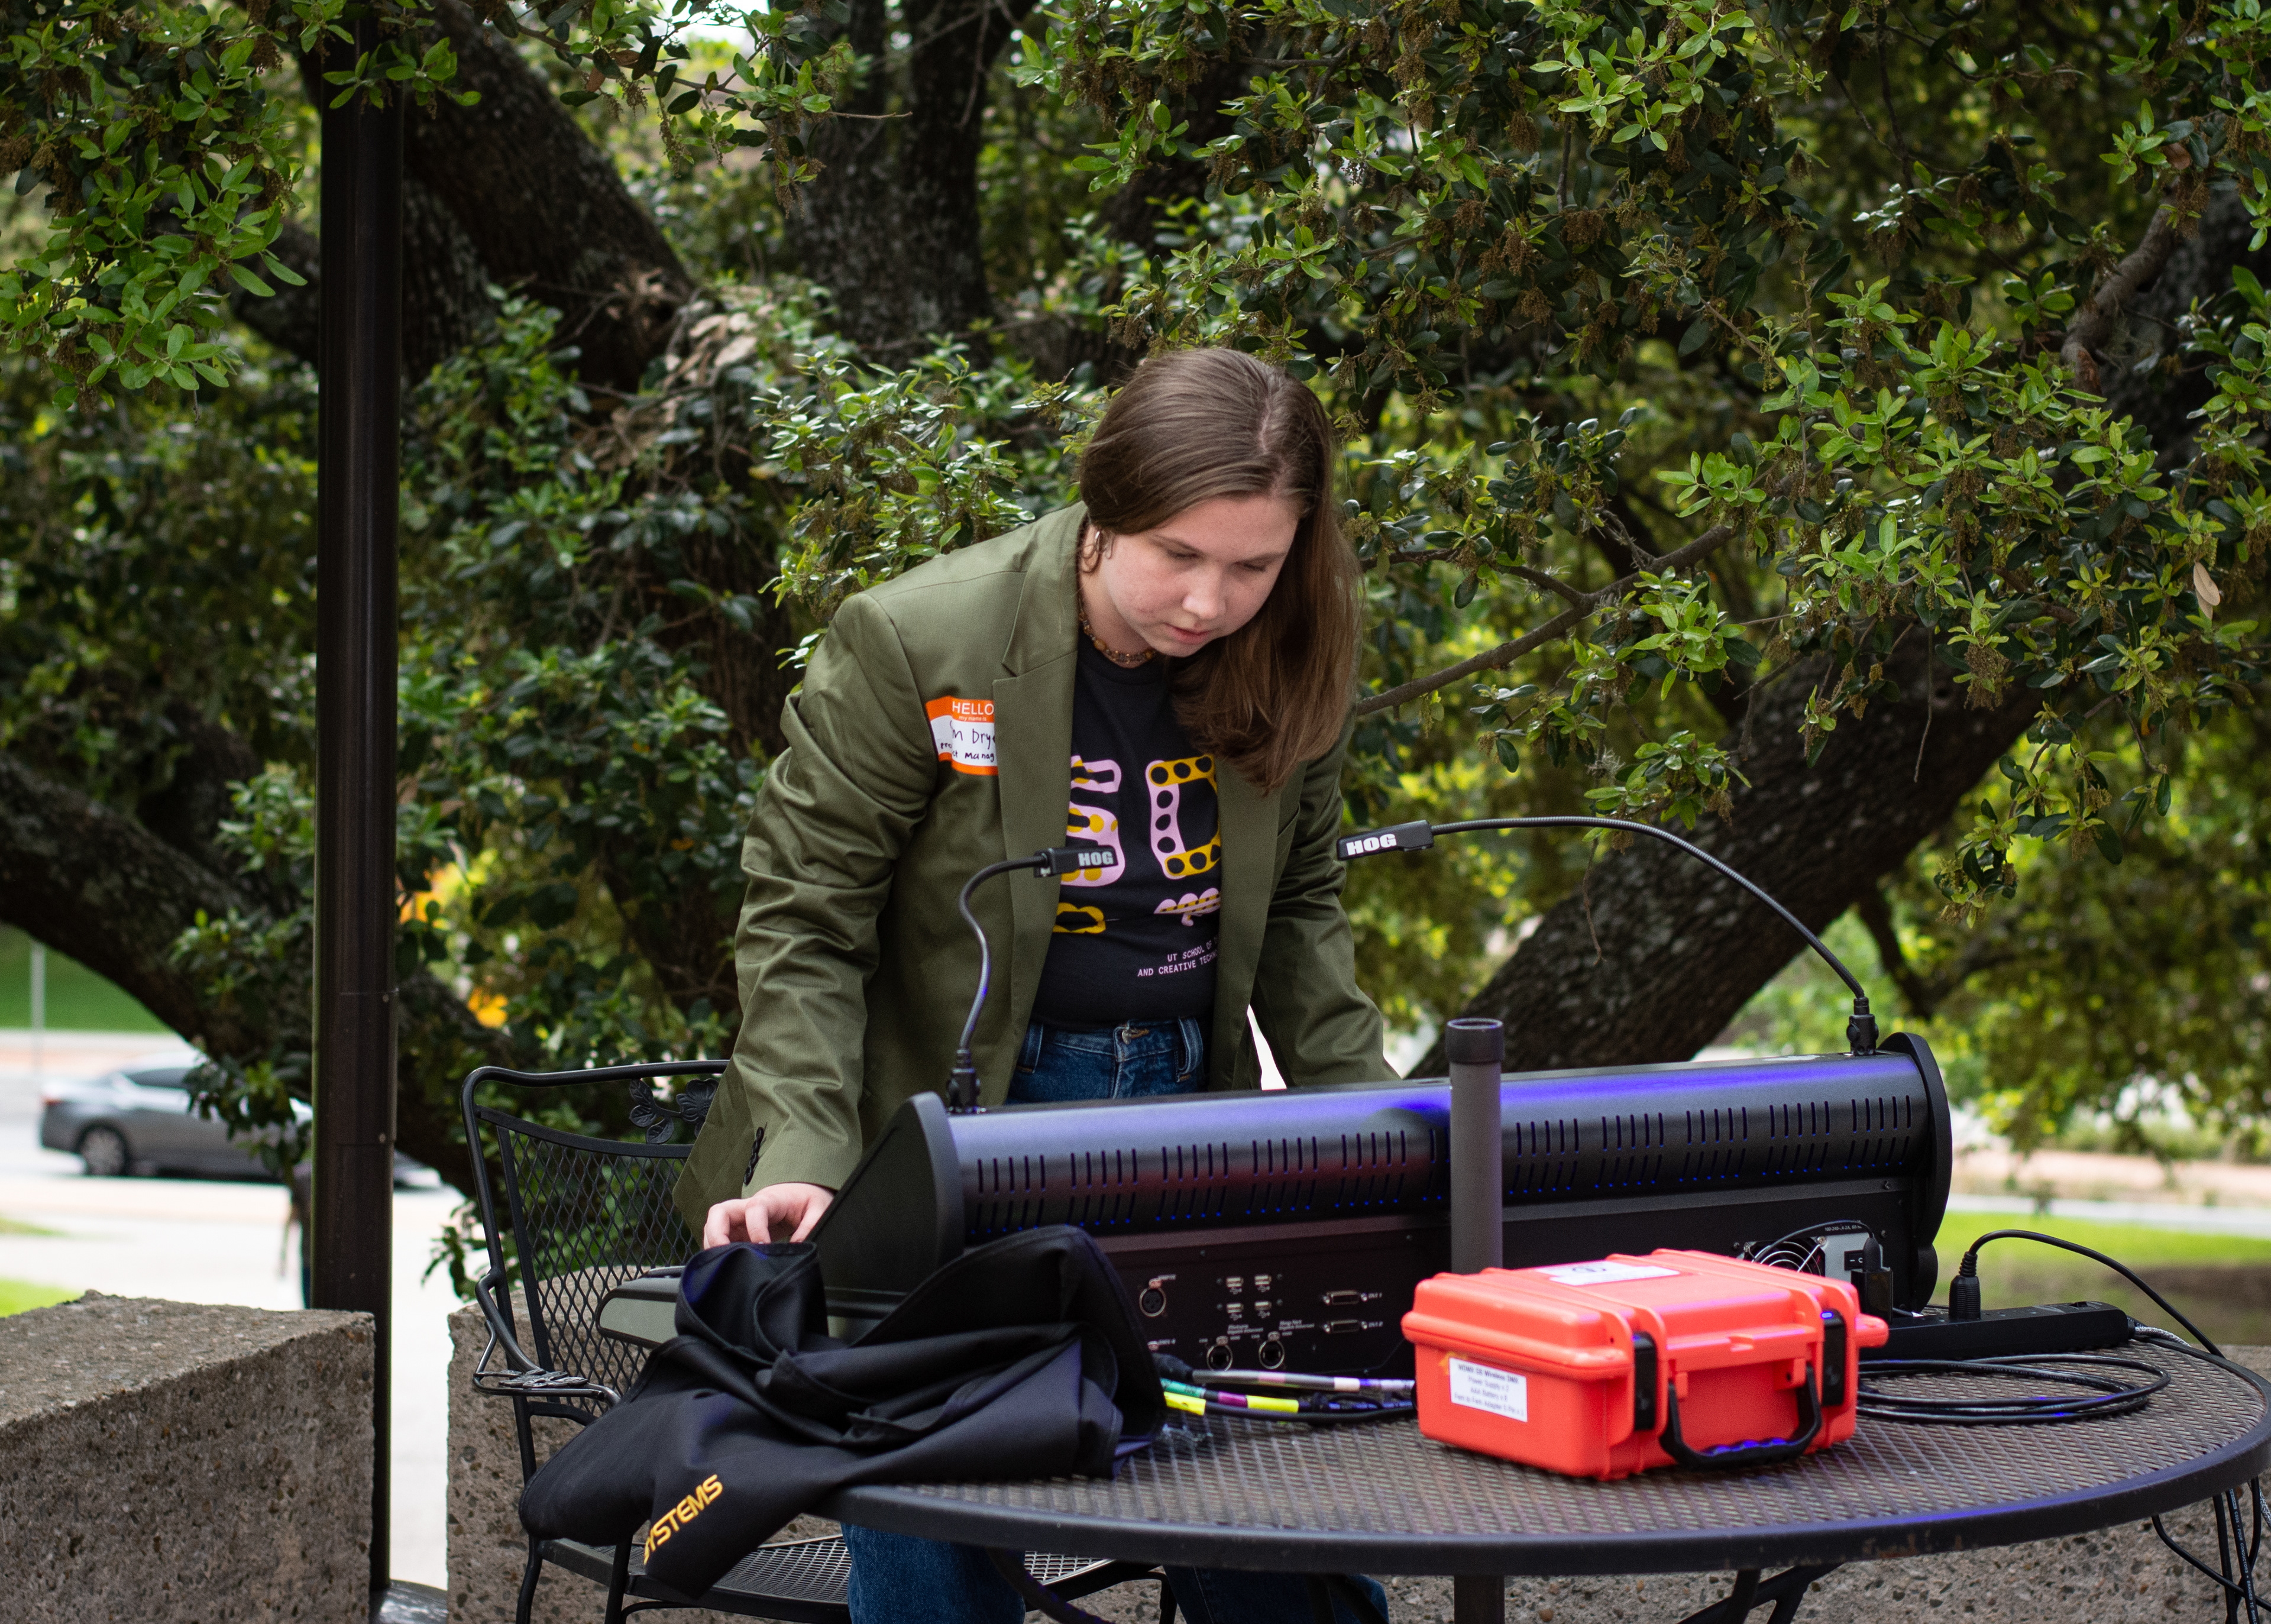
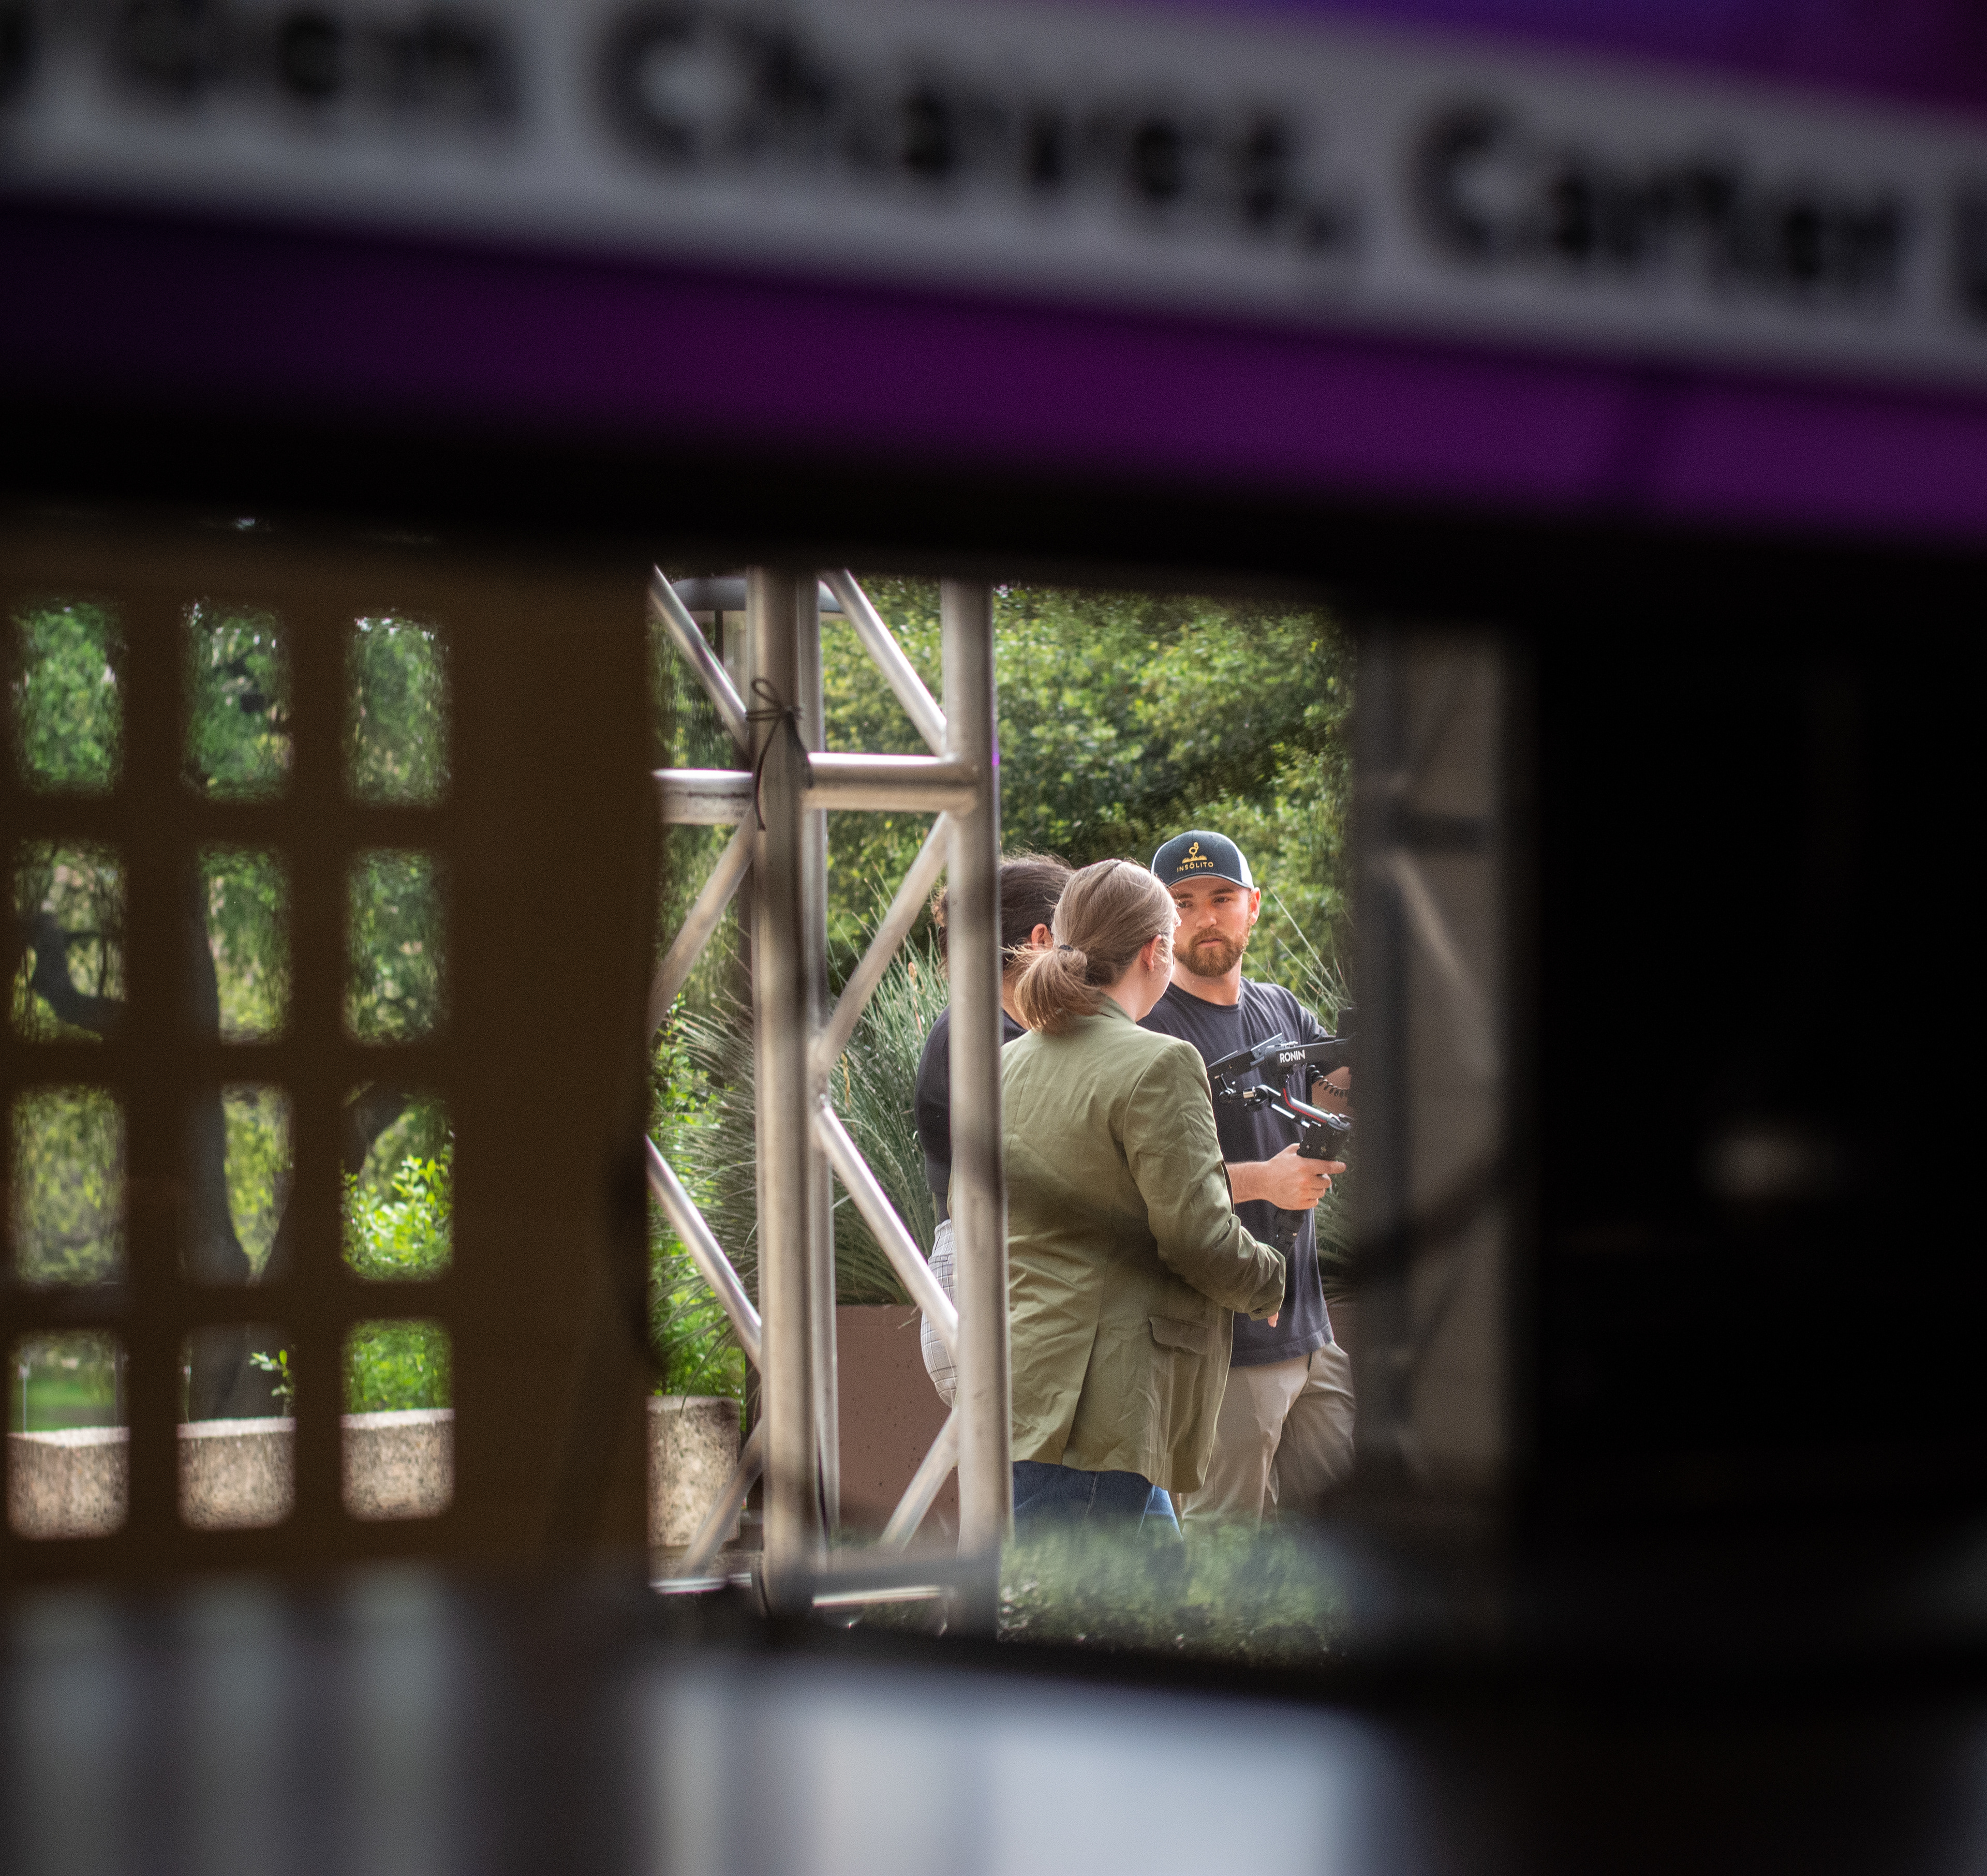
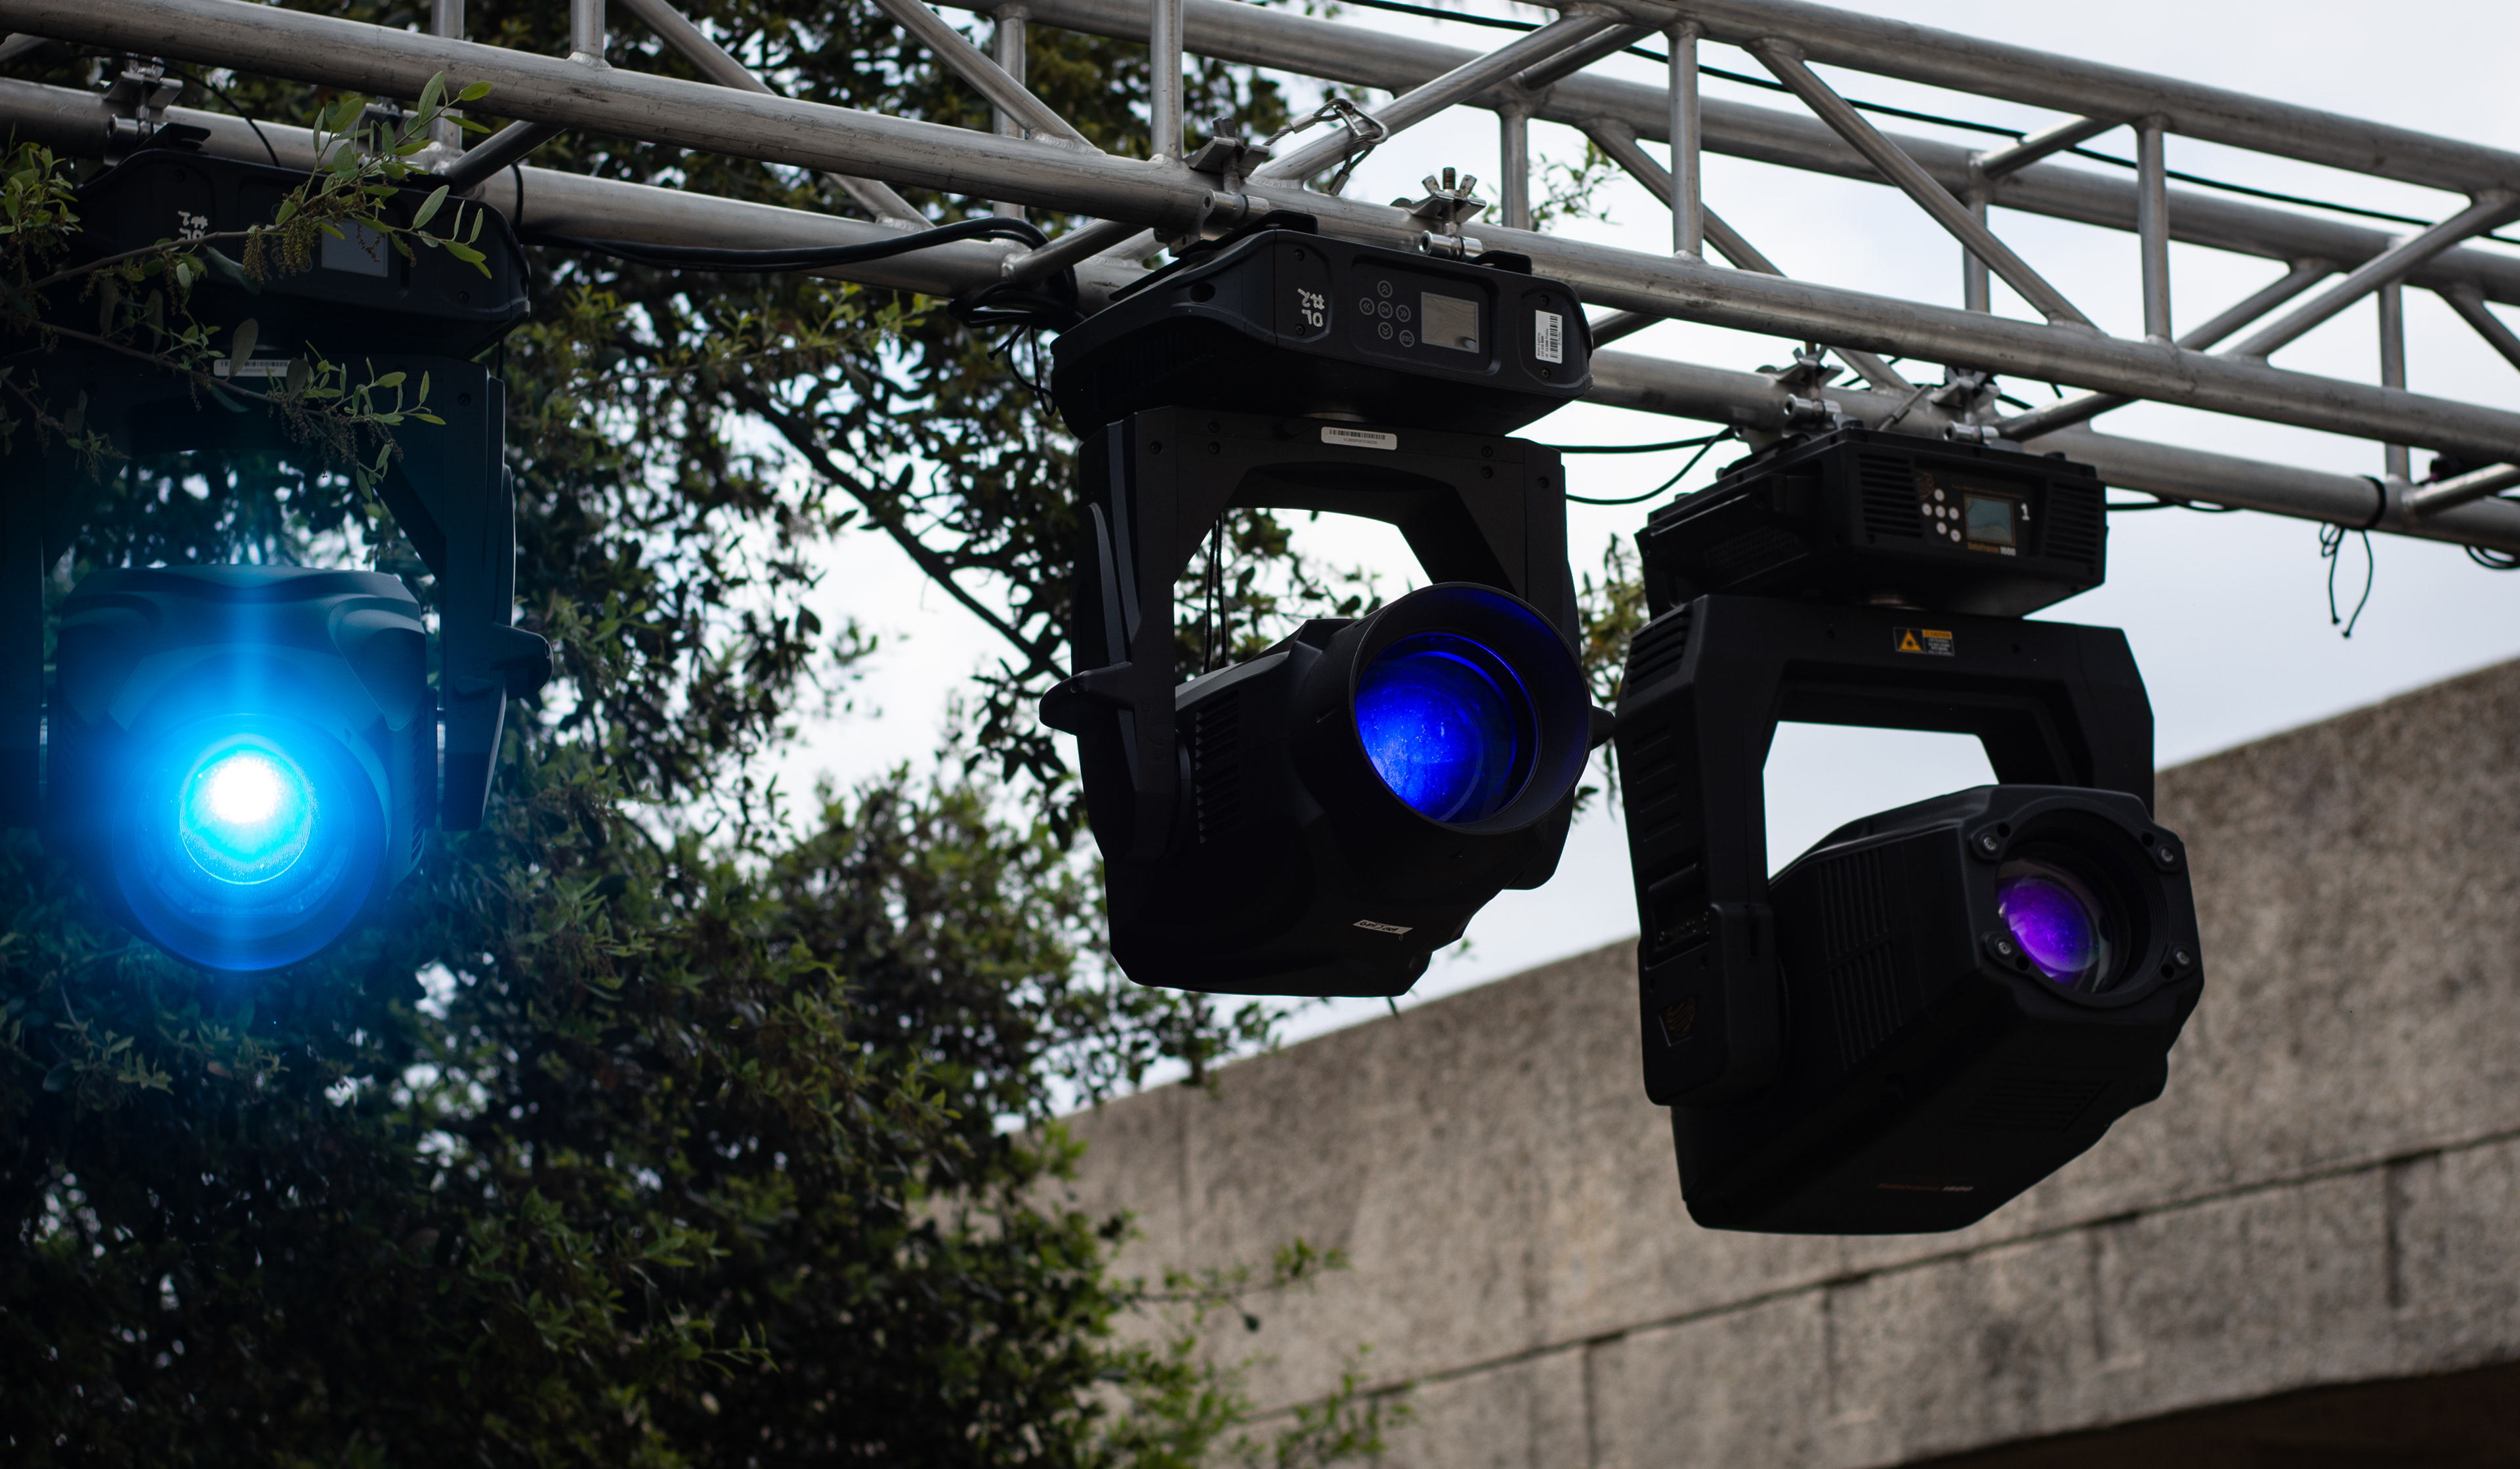
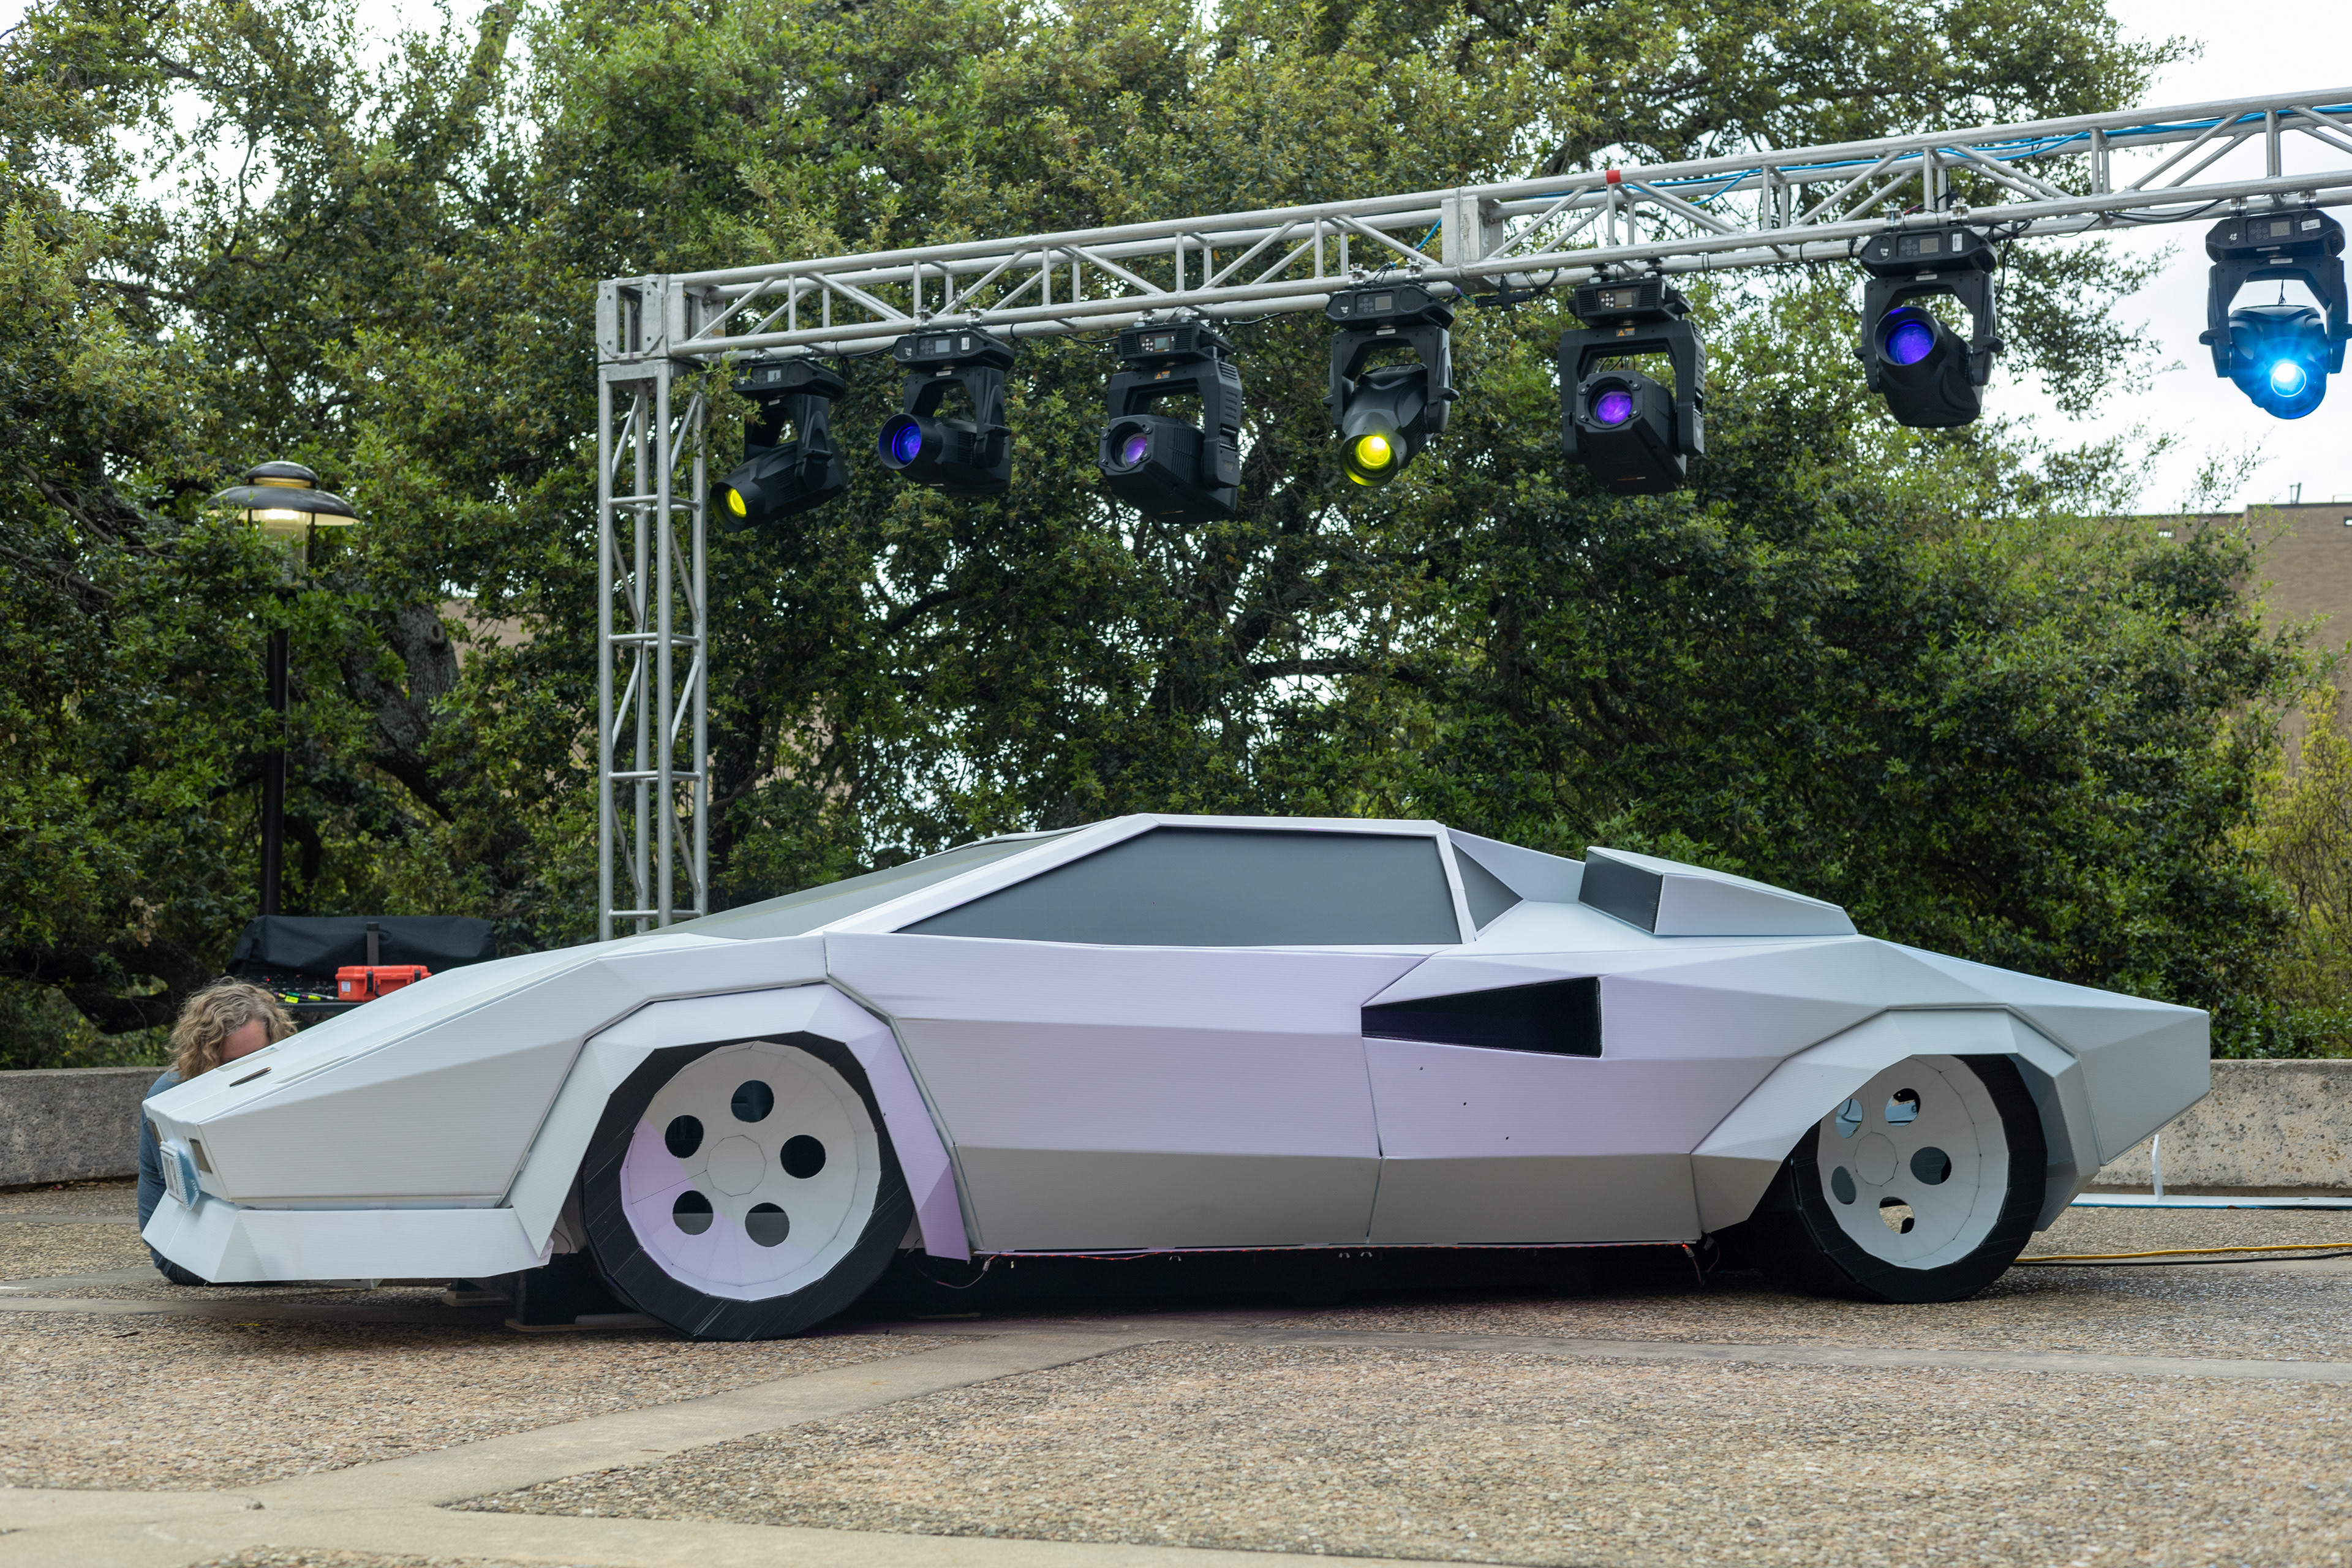
I had the opportunity to conduct some practical research on show lighting as a Project Manager for Future23, a showcase featuring student work from all SDCT disciplines. I was asked by Matt Smith to program the lights in person. I ended up having roughly 2 hours to program show looks for the ambiance of this event. It was a great opportunity to practice programming with new fixtures in a new setting.
Evolution: A Collaborative Dance Concert
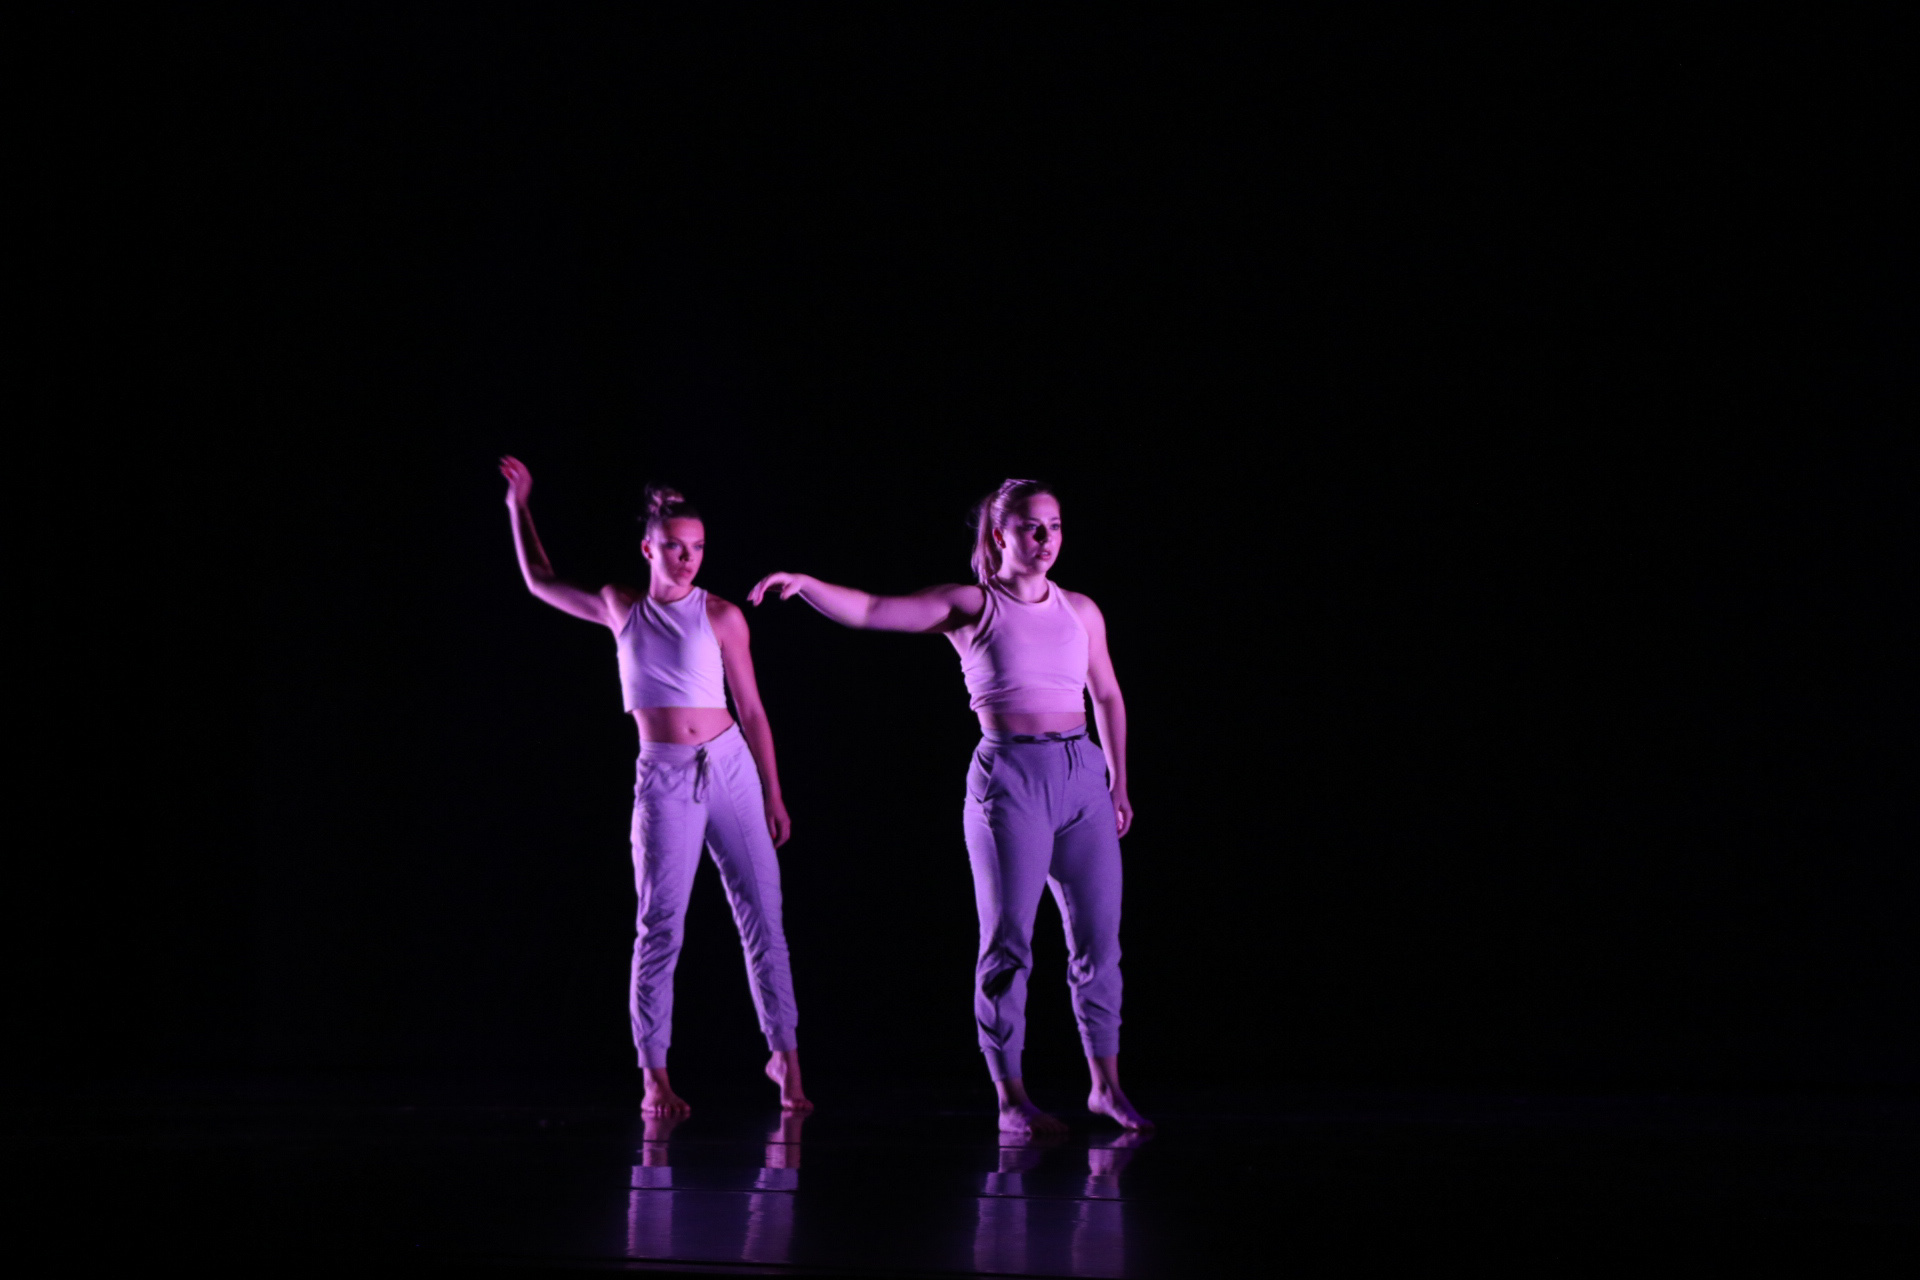
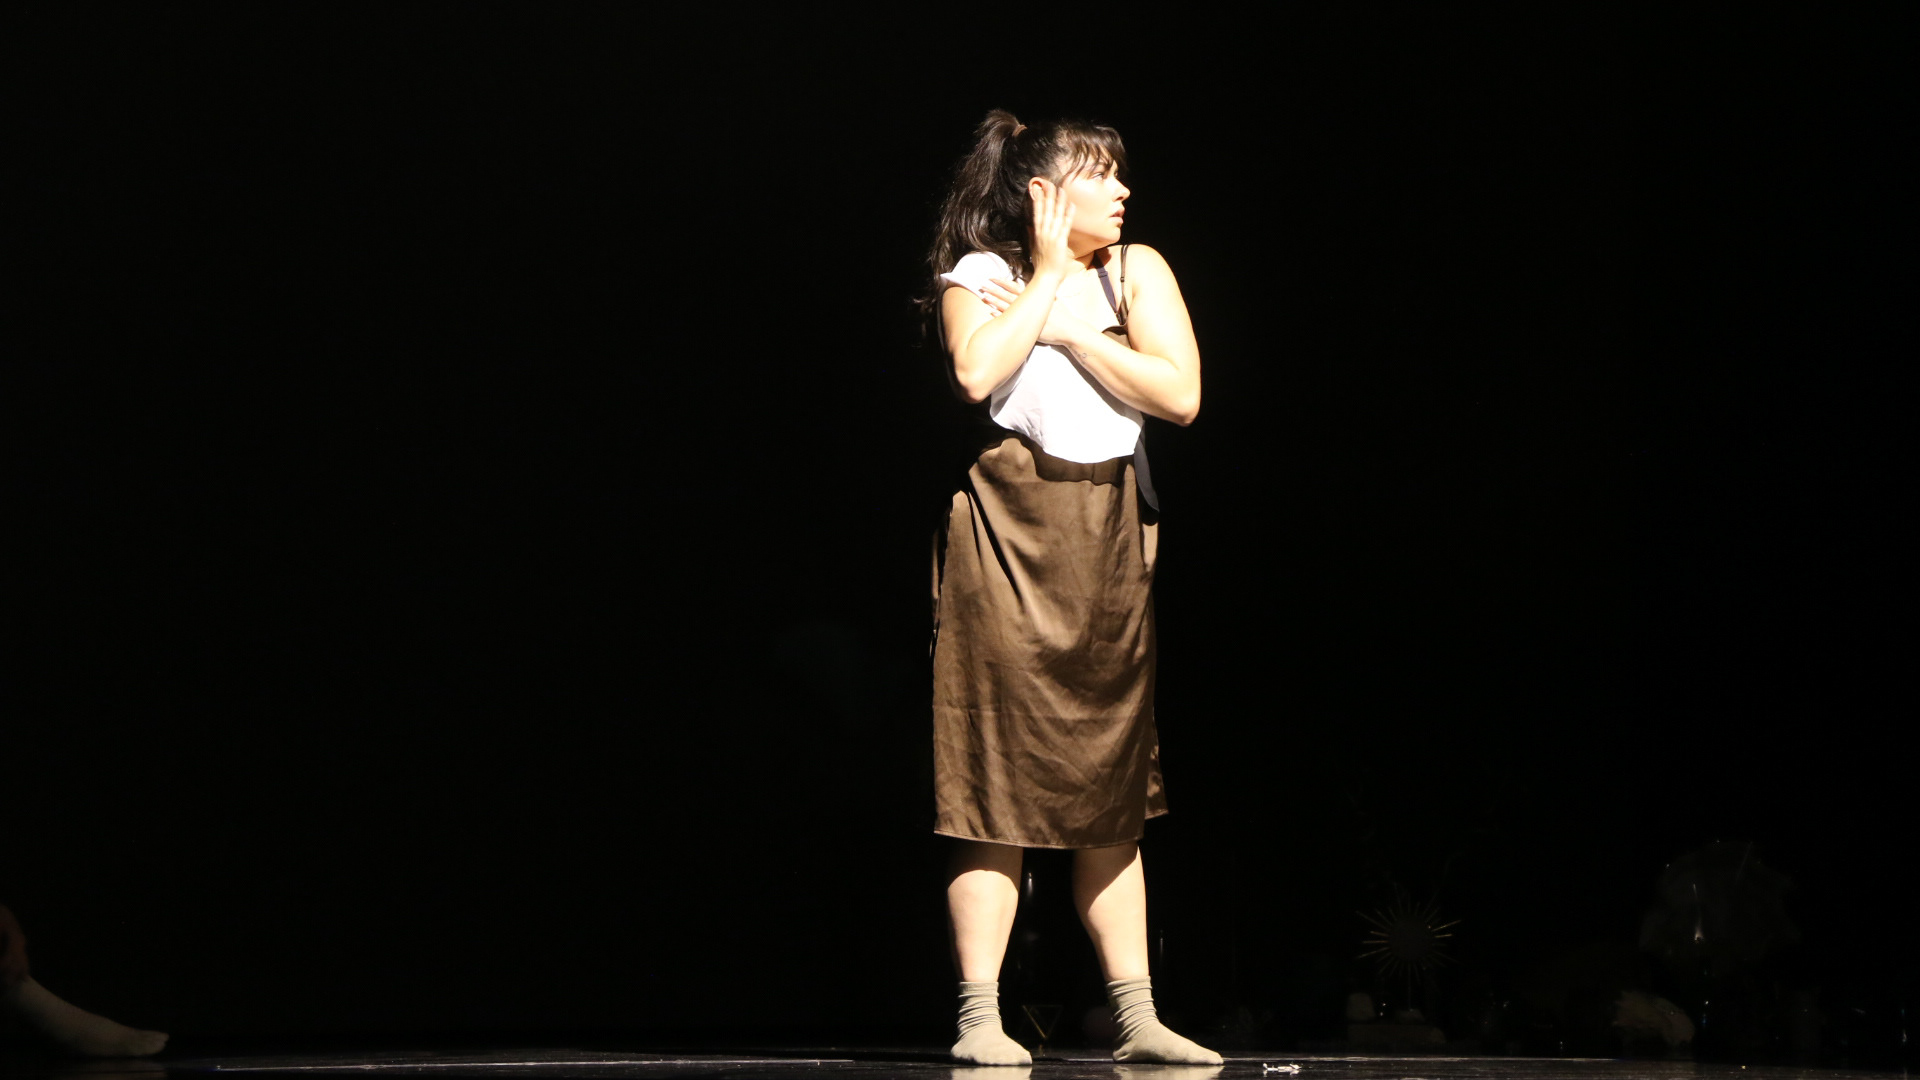
During this time I am also programming a light show for a collaborative dance concert called Evolution for my Senior Design Project. This year I am programming lighting for 3 dance shows totaling around 20 minutes of lighting content. Documentation for this project is linked here.


Technology/Training/Tools
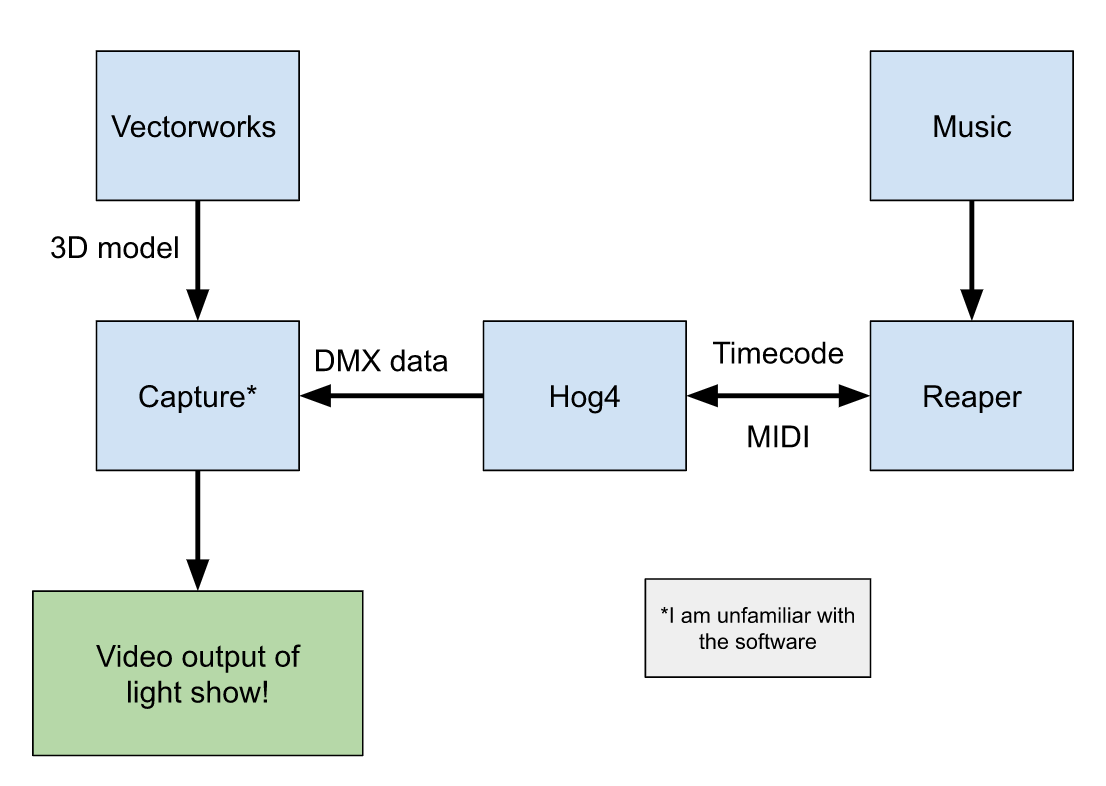
A lot of specific software will be required, and they all connect in specific ways. I have included a chart below which outlines the required software and its connections.
Because Hog4PC only runs on PC, I will need to utilize the PLAI Lab computers to do all of my programming. I already have access to the lab and am familiar with the technology there, as I used to work there as a proctor. The laptops there are the only technology I will need unless I decide to render my content on another computer. Alternatively, I am considering using Cinema 4D to render my content and utilizing “cloud computing” to render on a PLAI Lab machine.
Integration of Feedback
Feedback: Make sure the license to my chosen music will not expire
Changes made: I went on a deep dive to see what happens if a Creative Commons license is “revoked” by the original creator of the content. According to Creative Commons FAQ:

Feedback: Label the contents of each paragraph in the “Creative Challenge” section.
Changes made: I added labels above each paragraph specifying what is explained by each section. It is now broken down into the following categories: background, assets, song selection, and goals for the final deliverables.
Feedback: The table of contents is helpful to navigate the document.
Changes made: None - made sure to leave the table of contents intact.
Reflection
This module is much more in my comfort zone, so I feel much more confident going into this section of the module. I am noticing that a lot of this work is in the details, as observed with my issues with patching in Capture (see “Fixing Capture File” below). I had to go over all of these numbers with an extremely fine tooth comb before feeling confident that they were good to go. It reminded me how important that level of attention is when programming, and was an enlightening part of the process. In the future, I would be more observant and detail-oriented through my first pass at patching the fixtures. Further, I would try to check as I go to avoid unforeseen errors down the line.
I did notice that it was harder to make time for this module since I had both Future23 and Evolution in the same period of time as I was working on this project. It was a learning opportunity to practice my time management, and I became more comfortable balancing a multitude of projects and tasks at the same time. Some of the techniques I used to organize my time were time-boxing, task management tools such as Trello, and also re-scoped my goals when necessary.